R36S “K36S” Clone SD Card Swap Instructions for MacOS
Posted on January 2, 2026
Table of Contents
This guide should work for R36S clones known as K36 or K36S that have a .dtb file of rf3536k4ka.dtb.
Prerequisites
New SD card that is at least the same size as stock console SD card
SD card reader
Computer
Prepare the new SD Card
Erase and reformat new SD card to ExFat using Disk Utility program:
- Disk Utility > Erase > Rename to CLONE > Select ExFat > Save
List disks to find the correct disk in the Terminal:
Run:
diskutil listIdentify new SD card (notice disk #)
Unmount new SD card disk (use correct disk #):
- Run:
diskutil unmountDisk /dev/disk5
Flash ArkOS Image (ArkOS_K36_v2.0_02212025.img.xz) onto new SD card. Reference: GitHub of R36S Clone Versions.
Download here: https://mega.nz/file/en5TxJDb#DWuwxl8muBpRR0MB2YNCu5V2cNK3O9OQnGU00nVFvhE
Run the following command. Replace with your username and disk[#] if needed (e.g., rdisk5 to rdisk4):
sudo dd if=~/Users/YOUR_USERNAME/Desktop/ArkOS_K36_v2.0_02212025.img of=/dev/rdisk5 bs=4m status=progress- For the sudo command, start with
sudo dd if=then drag the.imgfile from Desktop to the terminal to auto-complete the path. Don’t forget to addof=/dev/rdisk5 bs=4m status=progressto the rest of the command.
- For the sudo command, start with
After flashed, sync the SD card:
- Run the following command:
sync
Safely eject:
- Run the following command:
diskutil eject /dev/rdisk5
Preparing the .dtb file (aka Panel)
After ejected, connect new SD card back to computer:
Open
BOOTpartitionRename the root
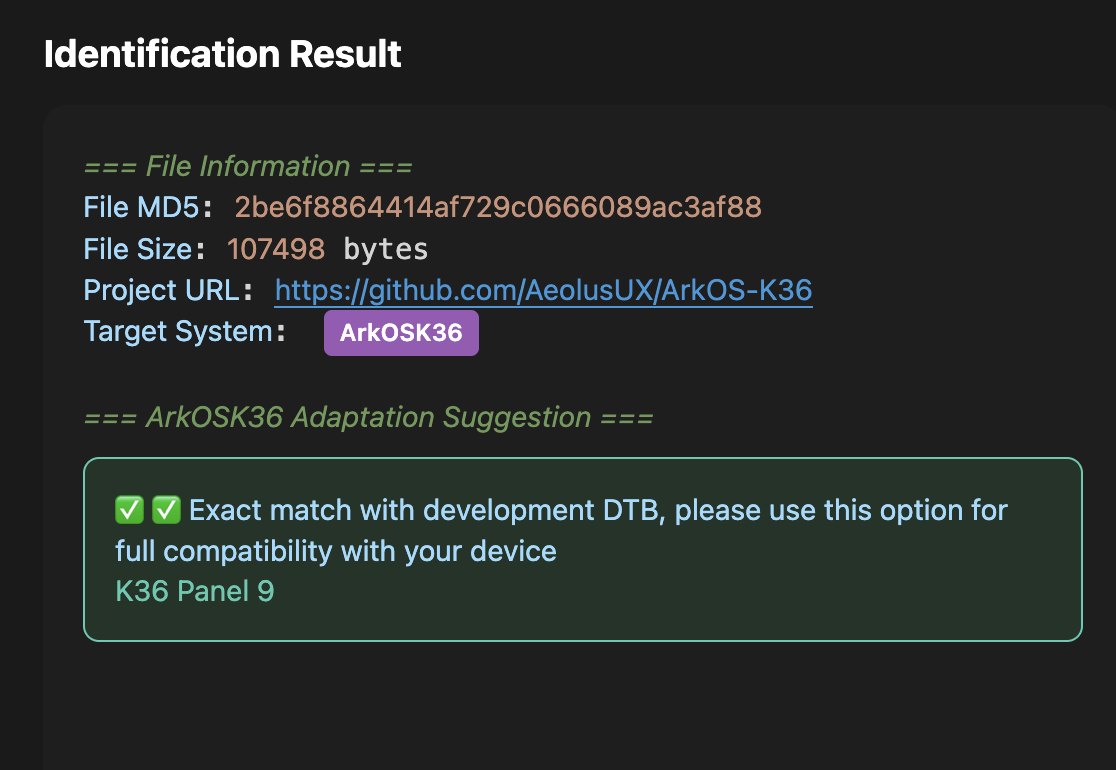
.dtbfile to.bakas a backupVerify correct compatible clone
.dtbversion: https://lcdyk0517.github.io/dtbTools.htmlFor rf3536k4ka.dtb, download Panel 9.
Copy that Panel 9
.dtbfile to the new SD card’s rootSafely eject from Finder
Test BOOT on device
Insert new SD card into device
Ensure device battery is at 80% or higher and plugged into charger via wallmount
Hold the power button for 10 seconds
Led lights should appear on the device and the ArkOS logo should appear on the screen
Test the controls to verify they work
Power off device
Load original SD card games to new SD card
Insert new SD card back into computer
Erase or move the flashed EASYROM data into a separate folder on Desktop as a back up
Make Volumes dir:
mkdir -p /Volumes/EASYROMS/pico-8/cartsVerify:
ls -l /Volumes/EASYROMS/pico-8/Use this command to copy original SD card EASYROM data to new SD Card:
cp -R ~/Desktop/EASYROMS/* /Volumes/EASYROMS/Safely eject:
diskutil eject /Volumes/EASYROMSInsert new SD card into device and test a game controls and save states
Misson accomplished, well done. Enjoy your retro games!